Showing posts with label Breakfast & Brunch. Show all posts

Saturday, September 28, 2013

Egg in the Hole


Will Berger '19 submitted this breakfast favorite to the SLS cookbook.

There's something very fun about eating an egg cooked within the circular confines of crispy buttered bread. Will recommends using the toasted circles for dipping into the warm yolk.

If you like your eggs more well-done, you can flip the egg/bread over and cook it some more.

Me?  I'm an egg over medium gal, and pass me the Frank's Red Hot Sauce.  A perfect meal.

Egg in the Hole
Makes one sandwich or two single servings

2 slices bread
Butter
2 eggs
2 1/2 inch biscuit cutter or top of a glass
Salt and pepper

Butter both sides of bread slices.  Using a biscuit cutter or top of a glass, cut a hole in the middle of each slice of bread.  Put bread and cut circles int a medium hot frying pan and brown lightly on one side.  Turn over bread when toasted on bottom side.  Add a little butter into the empty center of the bread.  Break an egg into each hole and cook.  Carefully turn each egg/bread over with a spatula and fry to your liking.  Salt and pepper to taste.  Use circles for dipping.


Dutch Puffed Apple Pancake


SLS Cookbook Contributor Amy Powless, Parent 2016 and 2018, notes that they always have a Granny Smith apple on hand -- just in case the craving strikes.

I can see why.  The puffed pancake is easy to make, fun to watch as it puffs up in the oven, and deliciously sweet and tart from the apples and dried cranberries. A great weekend breakfast or brunch offering.

Dutch Puffed Apple Pancake
Serves 4

1/4 cup (1/2 stick) unsalted butter
1 large Granny Smith apple, peeled, seeded, and thinly sliced
4 large eggs
1 cup whole milk
2/3 cup all-purpose flour
2 tbs. sugar
1 tsp. vanilla extract
1/4 tsp. ground cinnamon
1/8 tsp. salt
1/2 cup dried cranberries
Non-stick vegetable oil spray
3 tbs. packed brown sugar
Maple syrup, warm, for serving

Preheat the oven to 425 degrees F.

Melt butter in a 9" inch glass pie dish or cast iron skillet.  Arrange the apple slices evenly over the butter.  Bake the apples until they begin to soften, about five minutes.  Meanwhile, using an electric mixer or whisk, beat eggs, milk, flour, sugar, vanilla, cinnamon, and salt in a large bowl to blend.

Remove the pie dish or skillet with the semi-baked apples from the oven and either take a heat-proof silicone pastry brush and brush the melted butter up and around the interior sides of the pie dish/skillet or spray the interior sides with non-stick vegetable oil spray.  Pour in batter and sprinkle dried cranberries evenly across the batter.  Sprinkle the brown sugar evenly over the batter as well and put back in the oven.  Bake until the center is set and the edges are puffed and slightly browned, about 20-25 minutes.  Serve immediately with warm maple syrup.

Sunday, September 22, 2013

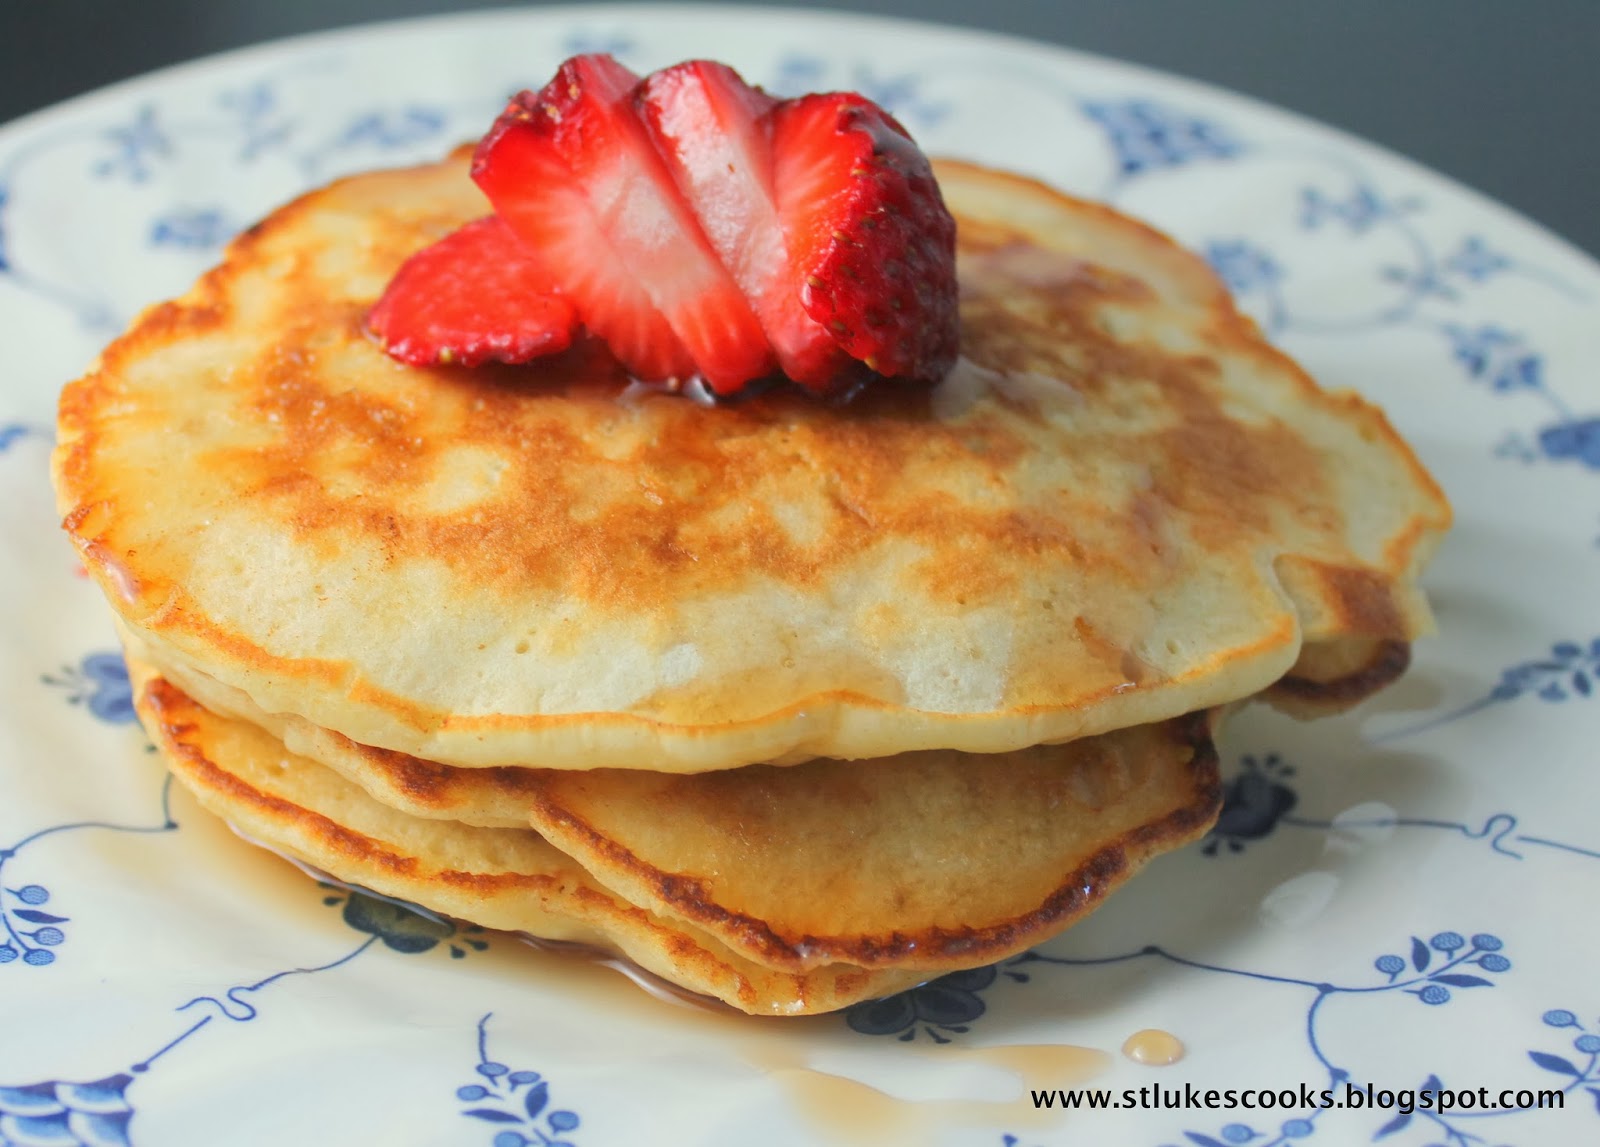
Daddy's Famous Waffle/Pancake Batter


Every time I see Glenn Finley, I feel happy.  He is always cheery and smiling.  He loves food!

I'm not surprised that his daughters named his pancake and waffle recipe, "Daddy's Famous Waffle/Pancake Batter." I can imagine them laughing in the kitchen, as they enjoy these tender pancakes made by their awesome dad.


Daddy's Famous Waffle/Pancake Batter

Serves 4

Dry ingredients
1 cup flour
1 tsp. baking powder
1 pinch salt

Wet ingredients
1 cup skim milk
1 tbs. vanilla extract
1 egg
3 tbs. maple syrup
3 tbs. butter melted with 1 tbs. canola oil

Mix dry ingredients together in one bowl and wet ingredients in another bowl. Combine both together, mixing until just incorporated.  There should still be lumps of flour.  Let stand 5 minutes.

For waffles: Cook waffles according to the instructions of the waffle maker.

For pancakes: Preheat 10- or 12-non-stick inch skillet over medium heat.  Add a little butter or oil to the skillet. Add 1/4-1/3rd cup batter to the skillet for each pancake.  Cook over medium heat until edges of the pancakes are dry and the top is bubbled and almost cooked. Flip over and cook an additional 2 minutes.


Saturday, October 3, 2009

Chocolate Chip Scones Para Mis Amigas Queridas


My friend and colleague Claudia Alvarez invited me, my kids, and a few of the ladies from the World Language Department, for a tea party at her new house, which is on the water.

Mirna Goldberger, who is also coming, said "Ninette will bring scones!"

She was kidding, but then again, she doesn't know whom she's dealing with.

Or, to the contrary, she knows exactly whom she's dealing with.

I've never made scones. The first time I ever heard of or had scones was many years ago at the parents' house of my friend James McGill. He and his wife were married at the house, and the next morning, they had a lovely buffet spread which included scones, clotted cream, and jams. I never forgot my first bite of those tender, buttery scones.


At James' wedding where I first had scones. Can you tell how long ago this was? Look at my shoulder pads! LOL. Answer: it was 1993.

Since then, I've had an assortment of things parading under the name of scones that were HORRIBLE. Flavorless, dry, and hard as a rock. Ew.

With some trepidation, I went about making this test batch of scones. Would these be a home run or a cratering disappointment?

These scones definitely took first place as the best I've ever had.

Gracias, Mirna!

Notes:

1) The inspiration for this recipe came from Thibealt's Table.

2) In different recipes I looked at, the butter could be as much as 2 sticks of butter. I liked this recipe as it only used 6 tbs., which did the job.

3) Cold butter is key, because when those little pearls of butter melt in the oven, the steam they generate results in lovely pockets of air and thus tender scones. I grated frozen butter into the flour mixture and then stuck the bowl into the freezer as an extra precaution.

4) Liquids in scone recipes included whipping cream, heavy cream, buttermilk, milk, and sour cream. I decided to use a mixture of half and half and sour cream, and it worked out great.

5) After adding the liquid, the dough seemed so crumbly that it wouldn't hold together, but then a few quick kneads got it to hold together enough so I could shape it and cut it.

6) Scones can include any number of flavorings. I used chocolate chips, but fresh, frozen, or dried fruits, nuts, cheese, etc. are all game. The sky's the limit!

7) I think scones are best when they're freshly baked, although I'm sure they can be heated up later or eaten at room temperature.

8) This time around I grated frozen butter, and I thought it was a bit of a pain. Next time I will use my food processor.

Chocolate Chip Scones

2 cups flour
1/2 cup sugar
2 1/2 teaspoons baking powder
1/2 teaspoon salt
6 tbs. cold butter (frozen if you're going to grate it)
1/2 cup sour cream
1/2 cup half and half
3/4 cup chocolate chips
Extra cream and sugar (sugar in the raw or turbinado sugar preferred)

Preheat oven to 425 degrees.

Mix the flour, sugar, baking, powder and salt together. Measure sour cream and half and half and put back in the fridge. Measure chocolate chips and put in the fridge too.

Grate frozen butter into the flour mixture and mix together (or you can cut the butter into smaller pieces and mix together with the pastry cutter until the flour resembles coarse meal). If butter is getting soft, stick the whole bowl in the fridge until it hardens up again. If using food processor, pulse the flour mixture and butter which you've cut into smaller pieces together until it resembles coarse meal).

Prepare the place you're going to knead and cut the dough into wedges by lightly flouring it. I usually use a Silpat silicone mat. Have a little extra flour on hand for your hands.

Mix the chocolate chips into the flour mixture and then add all the sour cream/half and half mixture, mixing with a fork as much as you can. If necessary, use your floured hand to press the dough together in the bowl and then dump it out onto your countertop, board, or Silpat. The mixture is pretty crumbly.

Knead the dough a few times until it just holds together and shape it into a circle. Flour your rolling pin and roll it until it's about 7 inches around. Cut in eight triangular pieces and put on your cookie sheet (I usually have a Silpat on my cookie sheets as the baked goods will not stick).

Brush the tops of the scones with a little half and half and top with turbinado sugar.

Bake for 15-20 minutes or until lightly brown.

Enjoy!


Wednesday, September 23, 2009

Becky's Pumpkin Chocolate Chip Muffins


Becky Decatur is a fellow parent at school and her husband Jim is our esteemed Assistant Head of the Upper School.

When she saw my chocolate chip muffin post, she was kind enough to send me a healthier version involving whole wheat flour, flaxseed, and pureed pumpkin.

If you like moist, dense muffins that taste of fall, give these a try.

Pumpkin Chocolate Chip Muffins

Combine:

1 cup canned pumpkin (Unsweetened)
2 eggs
1/2 c. brown sugar
1/2 c. nonfat milk
1/3 c. canola oil
1 tsp. vanilla


Add to the wet mixture a mixture of:

1 cup white flour
1/2 cup wheat flour
1/4 ground flaxseed meal
2 tsp. baking powder
1/2 tsp. cinnamon
1/4 tsp/ salt
1/2 c. Hershey's mini chocolate chips


Bake at 350 degrees for 12-15 minutes depending on size

Friday, May 22, 2009

Amish Friendship Bread


One day my friend and colleague, Kate, gave me a Ziploc bag with a creamy looking mixture and a xeroxed copy of Amish Friendship Bread Cinnamon Loaf.

A quick glance and all I saw was "Mush the bag" and "NO METAL." Kate told me she had gotten her bag of yeast starter from another friend who got it from another friend and so on and so forth. Who knows how long this starter has been circulating, through whose hands it has passed, and how many mouths it has fed? It's kind of cool to think we are all connected.


Once you get your bag, you follow the instructions and ten days later, you make your own bread and four more bags of starter to keep or give to your friends. You can freeze the bags of starter to save for a later date. Just let the starter defrost and watch for the bubbles to start again before you proceed with the recipe.

It's important to leave the bag out at room temperature so that the yeast can do its work. If for some reason, something goes awry or you want to make the bread and have no friends who have given you a bag, I include the recipe for starting an original starter batch.
My daughter Lizzy loved this light, moist and sweet bread. Every time I went into the kitchen I noticed the loaf got magically smaller, until *poof*, it was gone.


Amish Friendship Bread Cinnamon Loaf Recipe (from the xeroxed piece of paper I received with the starter)

Do not use any type of metal spoon or bowl for mixing.
Do not refrigerate.
Batter will rise, bubble, and ferment ... burp as needed.

Day 1 - receive the starter and do nothing
Day 2 - Mush the bag.
Day 3 - Mush the bag.
Day 4 - Mush the bag.
Day 5 - Mush the bag.
Day 6 - Add to the bag 1 cup each flour, sugar and milk. Mush the bag.
Day 7 - Mush the bag.
Day 8 - Mush the bag.
Day 9 - Mush the bag.
Day 10 - Follow these instructions:

1. Pour the entire contents of the bag into a non-metal bowl.
2. Add 1 1/2 cups flour, 1 1/2 cups sugar and 1 1/2 cups milk. Stir.
3. Measure one cup batter into four 1-gallon Ziploc bags and give to friends along with a copy of the recipe.
4. Preheat oven to 325 degrees.
5. Add to the remaining batter:

3 eggs
1 cup oil
1 tsp. cinnamon
1/2 cup milk
1/2 tsp. vanilla
1 1/2 tsp. baking powder
1/2 tsp. baking soda
2 cups flour
1 large box instant vanilla pudding (or any flavor)
1/2 tsp. salt

6. Grease 2 large loaf pans
7. In a small bowl, mix together 1/2 cup sugar and 1 1/2 tsp. cinnamon. Dust the greased pans with 1/2 of this mixture.
8. Pour the batter evenly into the 2 pans and sprinkle the remaining sugar mixture over the top.
9. Bake 1 hour. Cool the bread until it loosens evenly from the pan (about 10 minutes). Serve warm or cold. YUMMY!

If you keep a starter for yourself, you will be baking every 10 days. The bread is very good and makes a great gift. Only the Amish know how to creat the starter, so if you give them all away, you will have to wait until someone gives you one back. ENJOY!!

NO METAL.

Here is an alternate bread recipe if you don't have instant pudding in the house, which I got from http://www.momswhothink.com/bread-recipes/amish-friendship-bread.html:

Remaining batter in the bowl (step #5 above)
2/3 cup oil
3 eggs
1/2 tsp. salt
1 tsp. vanilla
1 to 1 1/2 tsp. cinnamon
1 cup sugar
2 cups flour
1 1/4 tsp. baking powder
1/2 tsp. baking soda

Using a fork beat by hand until well blended. You can add 1 cup raisins and 1 cup nuts (optional).
Grease two loaf pans with butter, sprinkle with sugar instead of flour.

Bake at 325 degrees F for 45 minutes to 1 hour (individual oven temperatures vary). Cool 10 minutes, remove from pans. Makes two loaves of Amish Friendship Bread.

Amish Friendship Bread StarterThis is the Amish Friendship Bread Starter Recipe that you’ll need to make the Amish Friendship Bread (above). It is very important to use plastic or wooden utensils and plastic or glass containers when making this. Do not use metal at all!

Ingredients:

1 pkg. active dry yeast
1/4 cup warm water (110°F)
1 cup all-purpose flour
1 cup white sugar
1 cup warm milk (110°F)

Directions:

1. In a small bowl, dissolve the yeast in warm water for about 10 minutes. Stir well.
2. In a 2 quart glass or plastic container, combine 1 cup sifted flour and 1 cup sugar. Mix thoroughly or the flour will get lumpy when you add the milk.
3. Slowly stir in warm milk and dissolved yeast mixture. Loosely cover the mixture with a lid or plastic wrap. The mixture will get bubbly. Consider this Day 1 of the cycle, or the day you receive the starter.

For the next 10 days handle starter according to the instructions above for Amish Friendship Bread.